


- Homepage
- Projects
- Autodesk Construction Cloud/BIM 360
- How to upload files in ACC
How to upload files in ACC
- ACC Quick Start Guide
- ACC Document & File Review Workflow
- How to upload files in ACC
- BIM 360 Quick Start Guide
- BIM 360 Account Setup Instructions
- BIM 360 Plan Review Process
- BIM 360: Creating, Tracking, and Closing Project “Issues”
- BIM 360 Sheet Name/Number & Document File Versioning
- BIM 360 Standards Variance Request
- Change Order Proposals Over $50K
- Sign into the BIM 360 Mobile App (iOS)
- Autodesk Desktop Connector
- Adding New Employees to Tracker & BIM 360
These are instructions for uploading files to UF’s Autodesk Construction Cloud (ACC) platform.
The process is similar to that for the original BIM 360 platform, but with a few important differences:
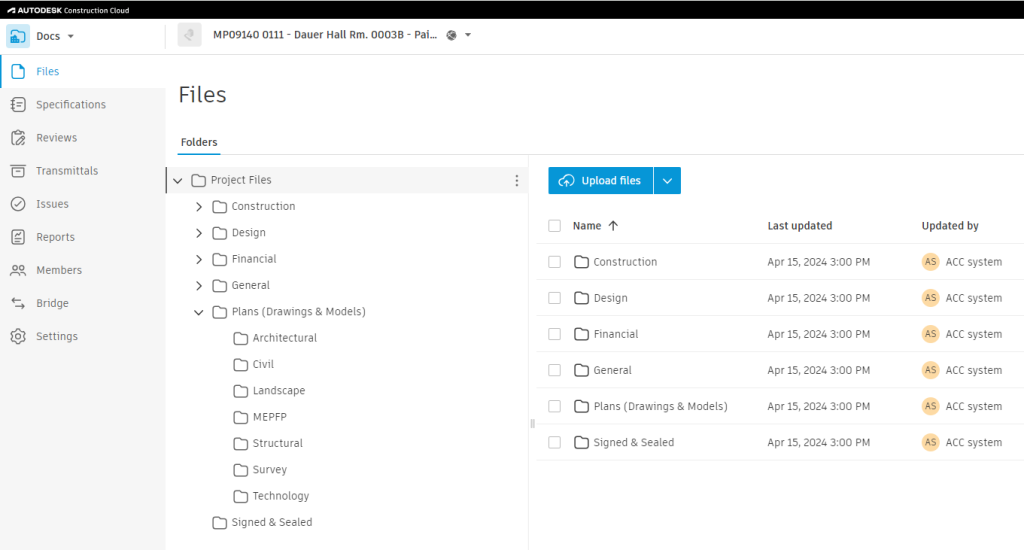
1. File folders are no longer separated into Plans and Project Files. Instead, all folders and files are located under the root Project Files folder, including the Plans folder for uploading drawings and Revit models.
2. Files are uploaded directly to the folders, bypassing the steps of defining title blocks, scanning for sheet numbers and names, and extracting and publishing the sheets. These steps now happen after the upload process (see step-by-step upload process below).
3. Autodesk has placed the “Sheets” tool within the ACC Build module, which does not allow the submission of these sheets for “Review.” For this reason, we ask that you DO NOT upload files using the “Files” tool within the ACC Build module.
4. Document submitters will now use the “Files” tool in the “Docs” module to upload their files. The “extraction” process of separating the multipage PDF file or Revit model into individual files (sheets) now occurs after the upload is completed.
Step-by-step Upload Process:
In the following example, we will upload a 13-page PDF file with notes and drawings.
1. Start the process by navigating to the “Docs” module and then the desired sub-folder under Plans. Click the blue “Upload files” button, choose either the “From your computer” option or “drag and drop” the files from File Explorer.
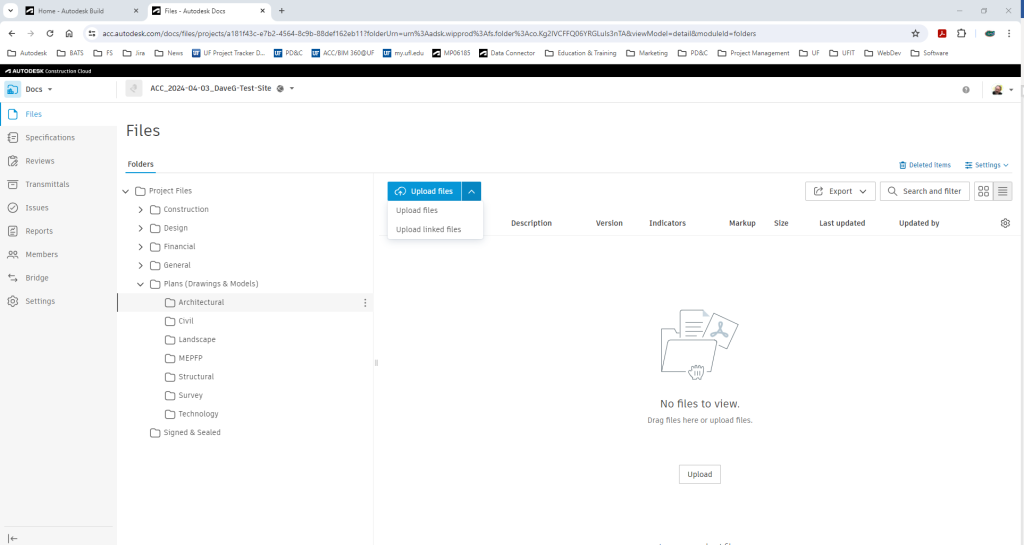
Unlike when files are being uploaded to the Plans folder in BIM 360, you’ll see that the files are immediately uploaded and bypass the title block definition and publishing steps.
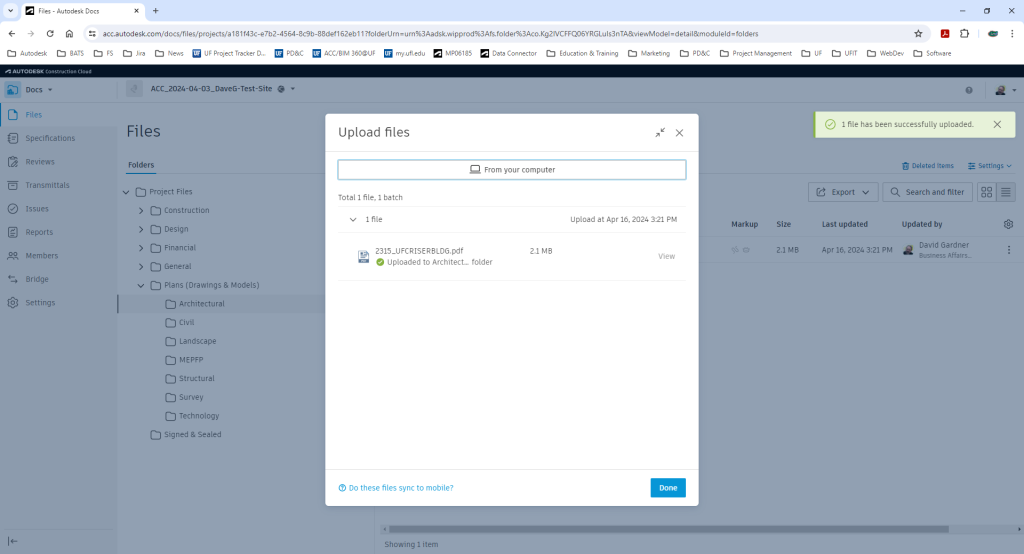
2. Click the blue “Done” button or the X in the upper right corner of the “Upload files” screen.
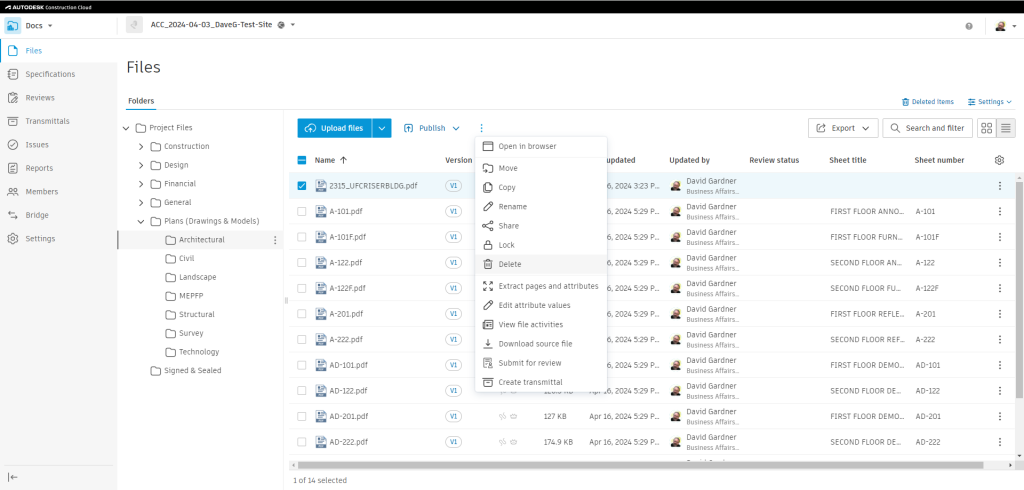
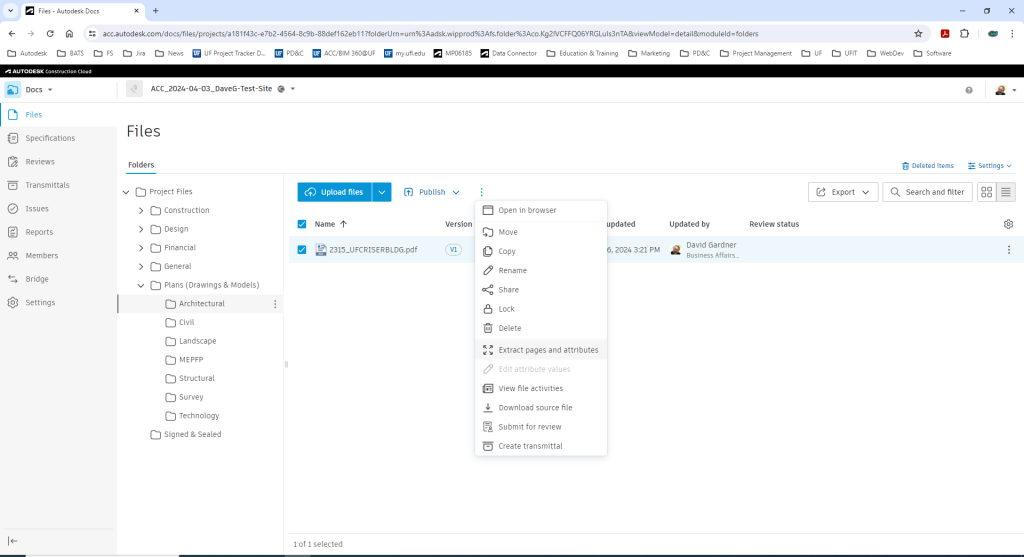
3. Select the box(es) next to the file(s) you just uploaded and then click on the three dots to the right of the “Publish” button. This will display a drop-down list > select “Extract pages and attributes.”
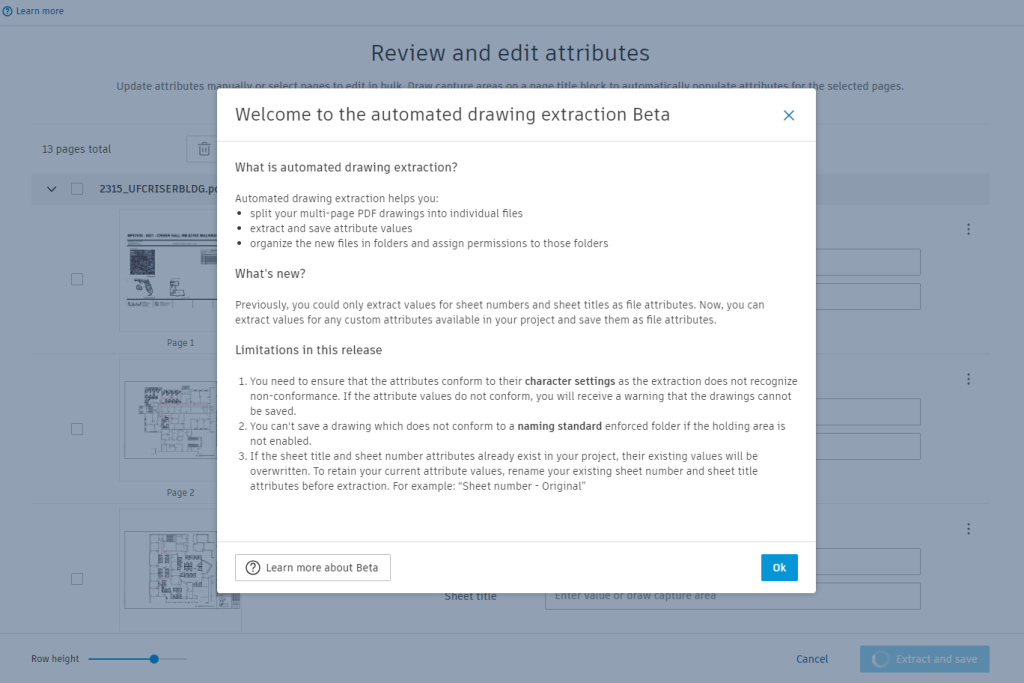
4. Next, you will see a “Welcome to…” message informing you that the drawing extraction is a Beta (test) program in which UF is participating. Unfortunately, you’ll see this message and will have to click “OK” every time you run the program.
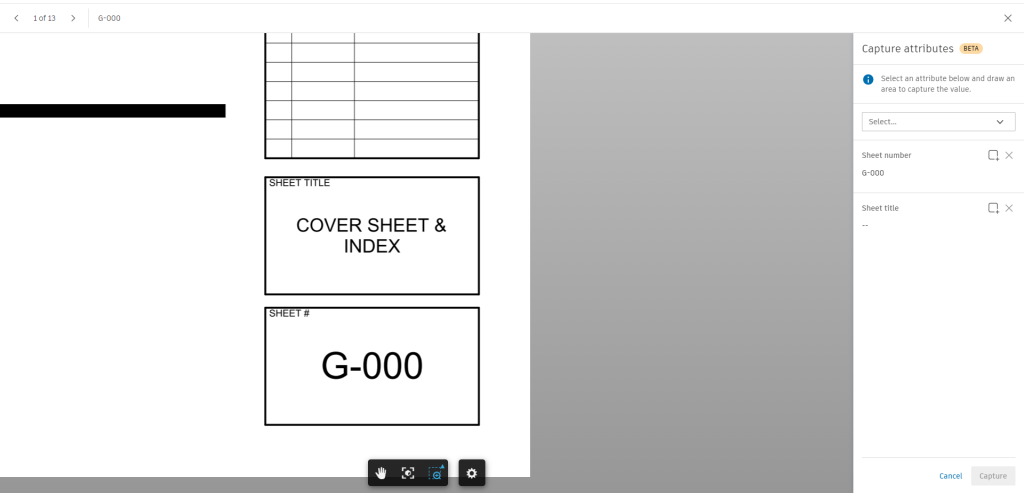
5. After clicking “OK,” you will see the “Review and edit attributes” page listing all the individual sheets. Note that the “Sheet number” has already been populated; please review the numbers and make any necessary corrections.
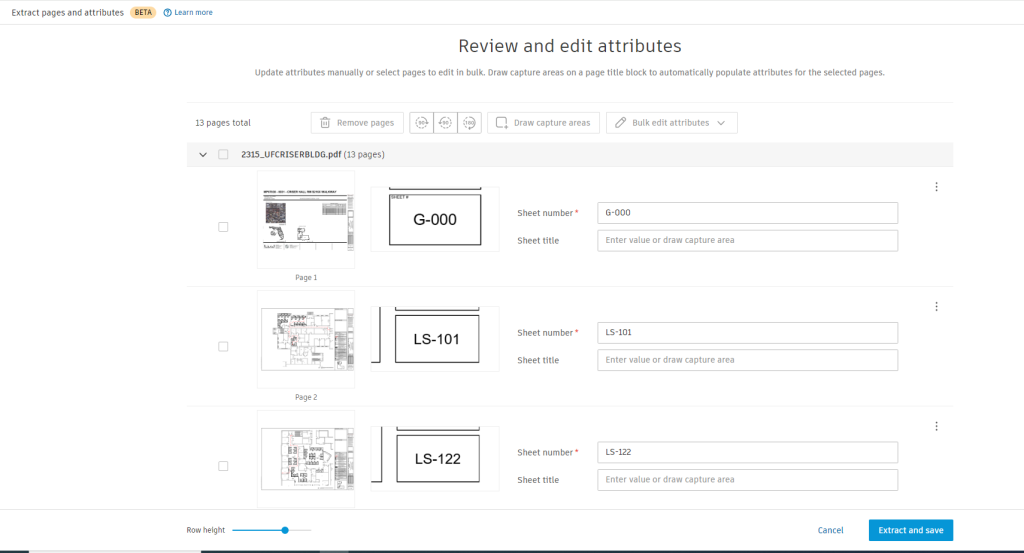
Next, you will have to scan the sheets using the “Draw capture areas” to enable the program to enter the titles for the sheets. (I have no idea why Autodesk can automatically scan for the sheet numbers but not the titles. Perhaps that will be an enhancement in a future release.)
6. Select all the files you want to scan and then click the “Draw capture areas” button.

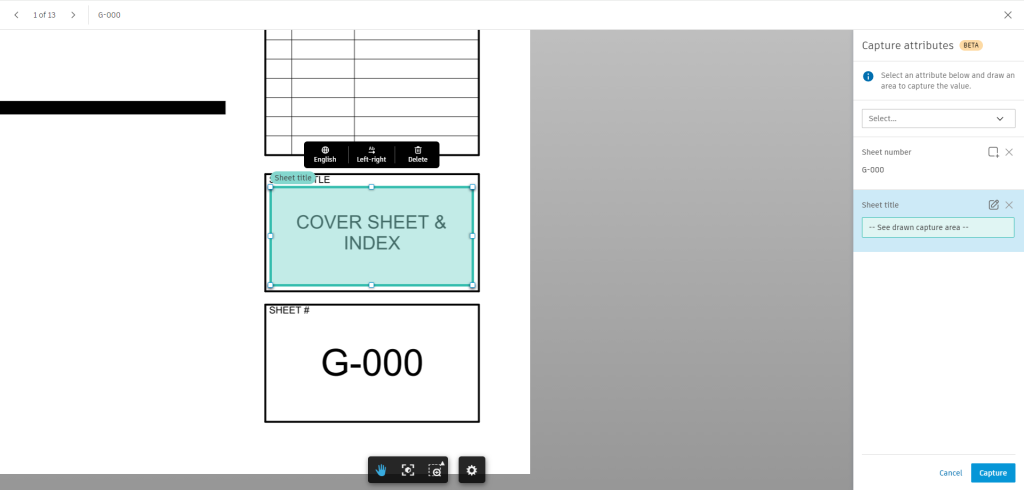
7. This will display the first sheet in the list, which you can use as an example for where the title block is located on the sheets. Use the Zoom window (magnifying glass icon at the bottom of the page) to enlarge the Sheet title so it’s easier to define the title block boundaries. Click on the “Sheet title” attribute link on the right side of the page.
8. Define the maximum area for the sheet title and then click the blue “Capture” button.
9. Review the results, make any necessary edits, and then click the blue “Extract and save” button. Designate if you want to save all the pages or select a subset to save. Be sure to designate a “Destination folder” using the “Browse” option. I suggest you save the files to the same folder as the source file, e.g., the “Architectural” folder in this example. Click the blue “Save” button.

10. I suggest you delete the original multipage source file after the sheets have been extracted and saved to the destination folder, so you don’t inadvertently send it along with the individual sheets for review.