- Homepage
- Projects
- Autodesk Construction Cloud/BIM 360
- BIM 360 Account Setup Instructions
BIM 360 Account Setup Instructions
- ACC Quick Start Guide
- ACC Document & File Review Workflow
- How to upload files in ACC
- BIM 360 Quick Start Guide
- BIM 360 Account Setup Instructions
- BIM 360 Plan Review Process
- BIM 360: Creating, Tracking, and Closing Project “Issues”
- BIM 360 Sheet Name/Number & Document File Versioning
- BIM 360 Standards Variance Request
- Change Order Proposals Over $50K
- Sign into the BIM 360 Mobile App (iOS)
- Autodesk Desktop Connector
- Adding New Employees to Tracker & BIM 360
Instructions for activating & setting up your Autodesk BIM 360 account for the first time
Step-by-step guide
1. You will receive an email from Autodesk BIM 360 asking you to activate your membership because you are a new user (Member). The email below is an example; your invitation will be specific to the project to which you have been invited:

2. Click the “Activate your membership” button.
This will take you to the Autodesk BIM 360 Sign In page. At this point you do NOT have an Autodesk ID so you will need to create one by clicking the “Create Account” link:
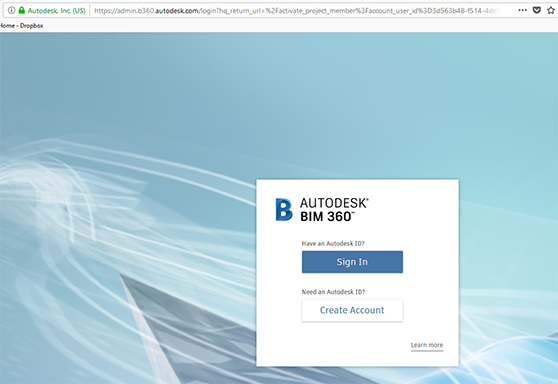
3. Fill in your information in the “Create account” form.
Please create a unique password for this account – do not use your GatorLink password – and make note of your new password for future sign-ins.
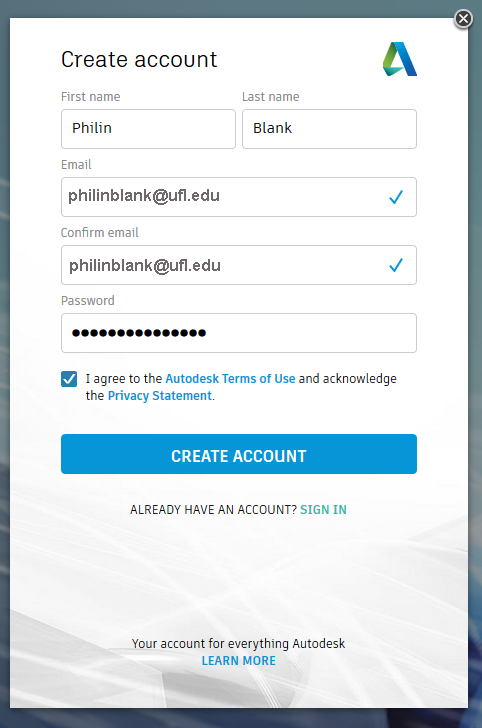
4. After you click the “CREATE ACCOUNT” button. You will see the following confirmation message:
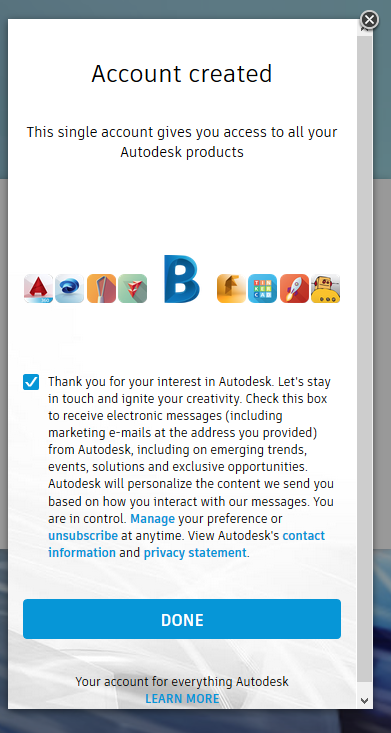
5. Click the “DONE” button.
6. You will now be redirected to Home Page for the project where you will see the following welcome message:
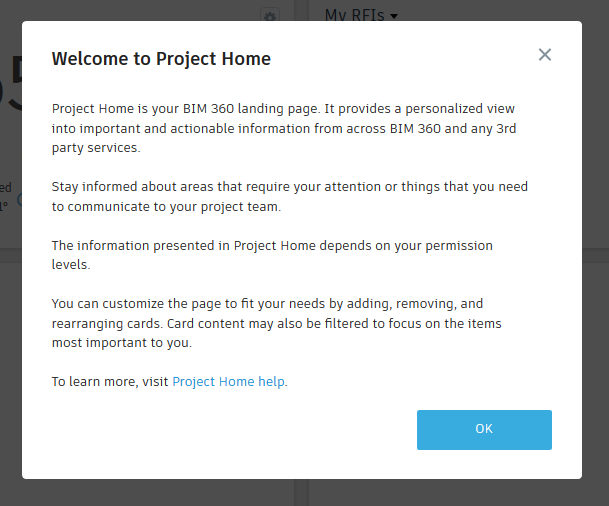
7. Click the “OK” button.
8. Subsequent to your setting up your account you will receive a second email from Autodesk asking you to verify your email:
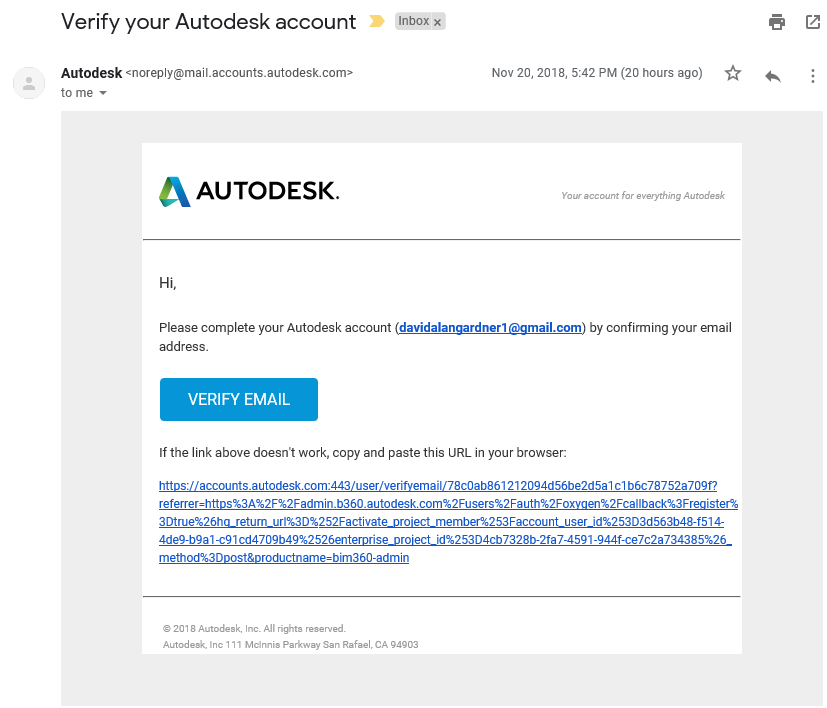
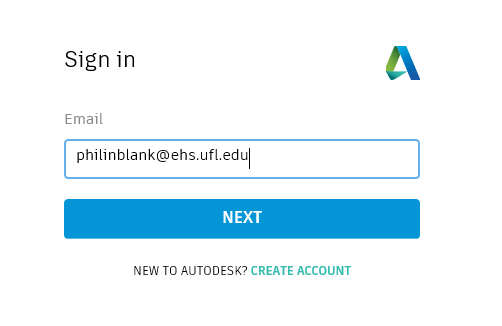
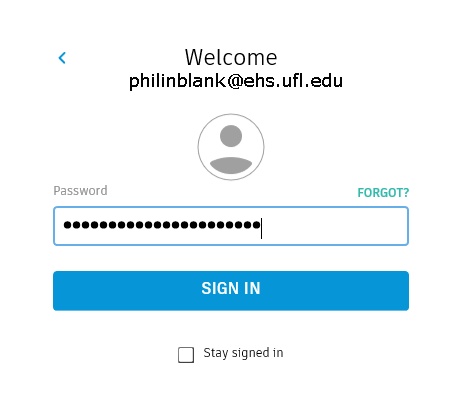
9. Click the “VERIFY EMAIL” link and you’ll be directed to a sign in page where you’ll be prompted for your email and password; please use the Email and Password you entered in step #4.
|
|
|
10. After clicking “SIGN IN” you will see an “Account verified” message:
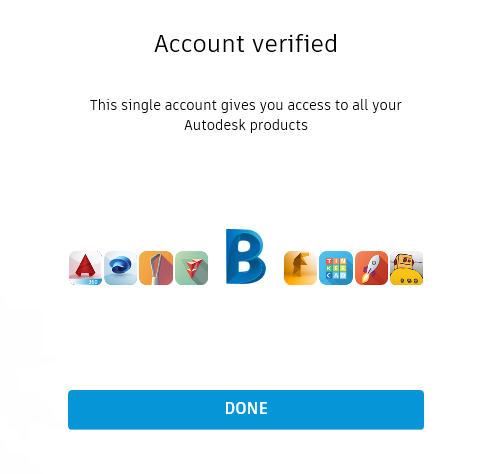
11. After you click “DONE” you’ll be presented with the option for Two-factor authentication:
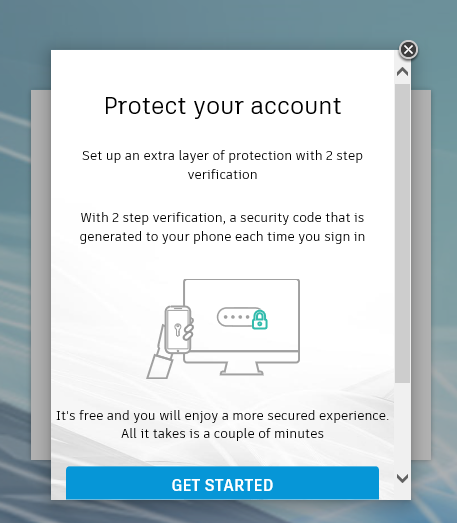
Click “GET STARTED” to set-up two-factor authentication on your account.
Whew!
Yes, that was a lot of steps! The good news is that after all this initial set-up work, inviting you to other projects will be a lot easier: you will click on the link in the Project invitation email and that will automatically take you to the new project upon signing into your account.
| You can always access BIM 360 using this link: b360.autodesk.com Please bookmark/favorite this page for future reference |


